
Welcome < Configuration < Computer Configuration < Audio Inputs
The Audio Inputs tab, in the Computer Configuration window, is used to define inputs for use with Record Control Events. These Record Control events can be placed in Station Logs and Clocks and Background Recorder Logs and Recorder Clocks to record external sources or the audio output of the station. The audio input can be setup as the output of the sequencer, this allows for the recording of what is playing in the log without the need for a loopback cable. See the Background Recording feature for more information on using the audio input to record a Network Show.
Click any area in this image for additional help
Click any area in this image for additional help
In this Topic: show/hideshow/hide
The Active check box makes the Audio Inputs configured for the computer available for Record Control Events.
The Name is the Audio Recorder name that will be seen when selecting an audio input when inserting a Record Control Event into a Log or Clock. The default name when a recorder is added is 'MACHINE_NAME Audio Recorder' (no apostrophes).
The Description field is used to add a description of the recorder, this field is optional.
 |
Add Audio Input - Use the Add Audio Input button to add an Audio Input to the Computers Configuration. |
 |
Delete Audio Input - Use the Delete Audio Input Button to delete a selected Audio Input from the Computers Configuration. |
The bottom window contains information about each added Audio Input for the configured computer. The following columns can be reorganized to fit the user’s needs and Custom Filtering can be used to filter the Audio Inputs.
ID - The ID is the system ID for the Audio Input.
Name - The Name is the name for the input selected. This field can be edited by double clicking in the field.
Audio Input - The Audio Input is the name of the installed device, this information is pulled directly from the windows driver. An audio input can be setup as the output of the sequencer (Loopback Capture), this allows for the recording of what is playing in the log without the need for a loopback cable.
|
|
To Add an Audio Input to a Computer, perform the following steps: |
button.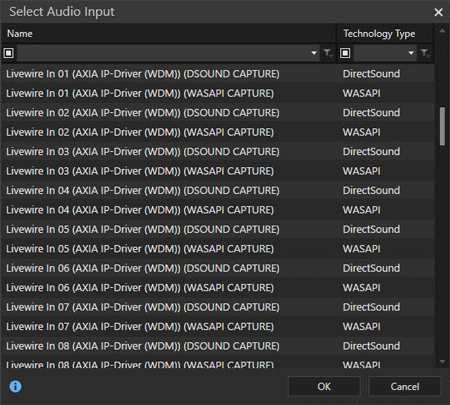
 button to save the changes.
|
|
To Configure ASIO Input for a Computer, perform the following steps: |
 button. button to save the changes.
|
Important Note! |
Warning: Feed Through Routing and Audio Recording cannot be configured simultaneously on the same computer. |
|
|
To Delete an Audio Input to a Computer, perform the following steps: |
button. button to save the changes.
Welcome < Configuration < Computer Configuration < Audio Inputs
© 2007-2024 RCS All Rights Reserved.

